Openers · Oakville
Smart Garage Controller Setup in Oakville
The house came with a controller already screwed to the garage ceiling and a sensor on the door, but the app insists the device belongs to another account.
In plain words
Everything about this service starts with the label on your opener. Brand, model number and year of manufacture decide whether a hub can be wired to the same terminals your wall button uses, whether it must instead pair by radio the way a new remote does, or whether the opener already has connectivity waiting to be activated. On many openers the colour of the learn button is the shortcut to that answer, because it marks the generation of radio coding the unit speaks. The technician reads all of this before choosing hardware, so the controller that goes up is one the maker lists as supported for that exact opener.
How the visit goesIt is February. You come down in the morning and the garage door has stood open all night; the car is frosted inside, the furnace has run without a pause, and the pipe in the shared wall is your first worry. Nobody knew, because nothing told anyone.
Smart Garage Controller Setup
How the visit goes
Reading the label on the opener
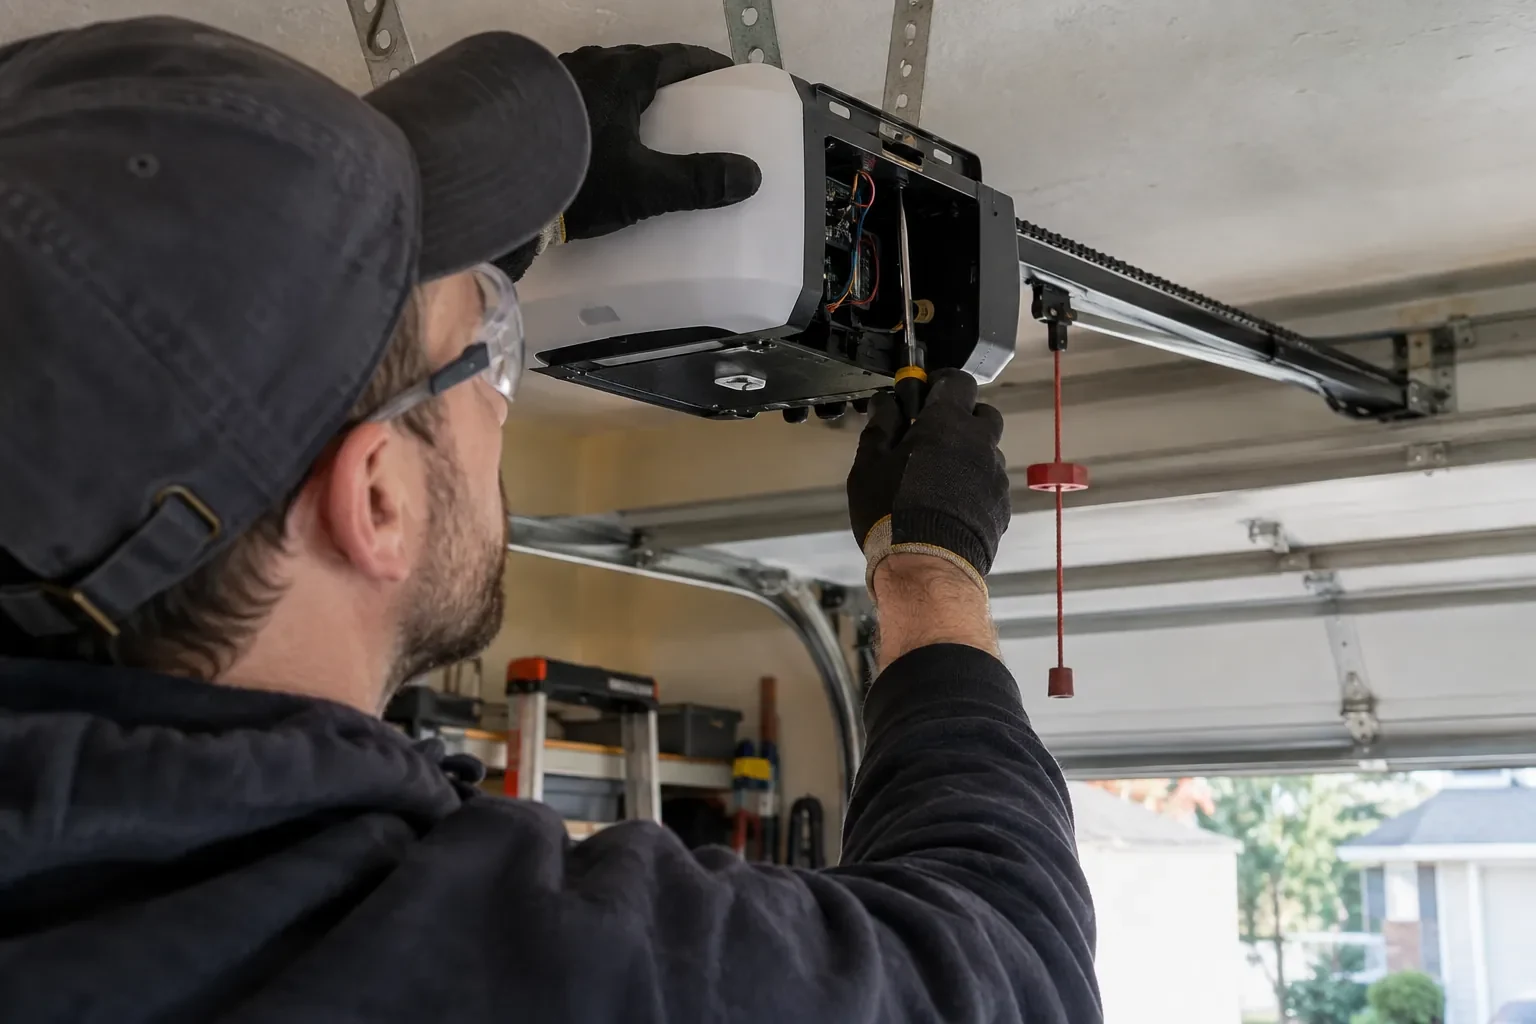
The first thing checked is the small label on the head unit, because everything else depends on it. Brand, model number and date of manufacture tell the technician which family the opener belongs to and which controllers list it as supported. The learn button, usually under the light cover, is checked for colour, since on many makes it marks the radio-coding generation and decides whether a hub can be wired to the wall-control terminals or must pair by radio. The wall console is looked at too: a console with a digital display often means an encrypted connection that needs a different hookup. A photo of the label sent ahead lets this step happen before the van leaves.
Switching on a built-in radio
When the opener has its own wireless radio, the work is mostly done at the head unit. The technician puts the opener into its pairing mode, usually by a button press or a sequence on the wall console, which broadcasts a temporary network the phone can see. Through the app the owner selects the home network and enters its password; the opener joins, its indicator turns steady, and the serial number from the label registers the device to the owner's new account. The technician then runs the door from the app and from the wall button to confirm position reporting matches the real door, and applies the firmware update the app offers before moving on to alerts and users.
Looking after the sensor battery
The door sensor runs on a small battery, typically a coin cell or a pair of cylindrical cells, that lasts a year or two in a heated garage and somewhat less in an unheated one. The app shows a battery indicator and sends a warning as it runs down, so it is rarely a surprise. Replacing it is a small job: pop the cover, swap the cell for the same type the maker specifies, and cycle the door once so the hub hears from the sensor again. Keeping a spare in a kitchen drawer means a low-battery notice on a Sunday morning is a footnote rather than a stopped feature.
Smart Garage Controller Setup
In the van
Wi-Fi access point or extender
Replacement photo-eye pair
Door-position tilt sensor
Receptacle splitter with approval mark
Cable clips and insulated staples
Smart Garage Controller Setup
What affects the quote
Door sensor mounting
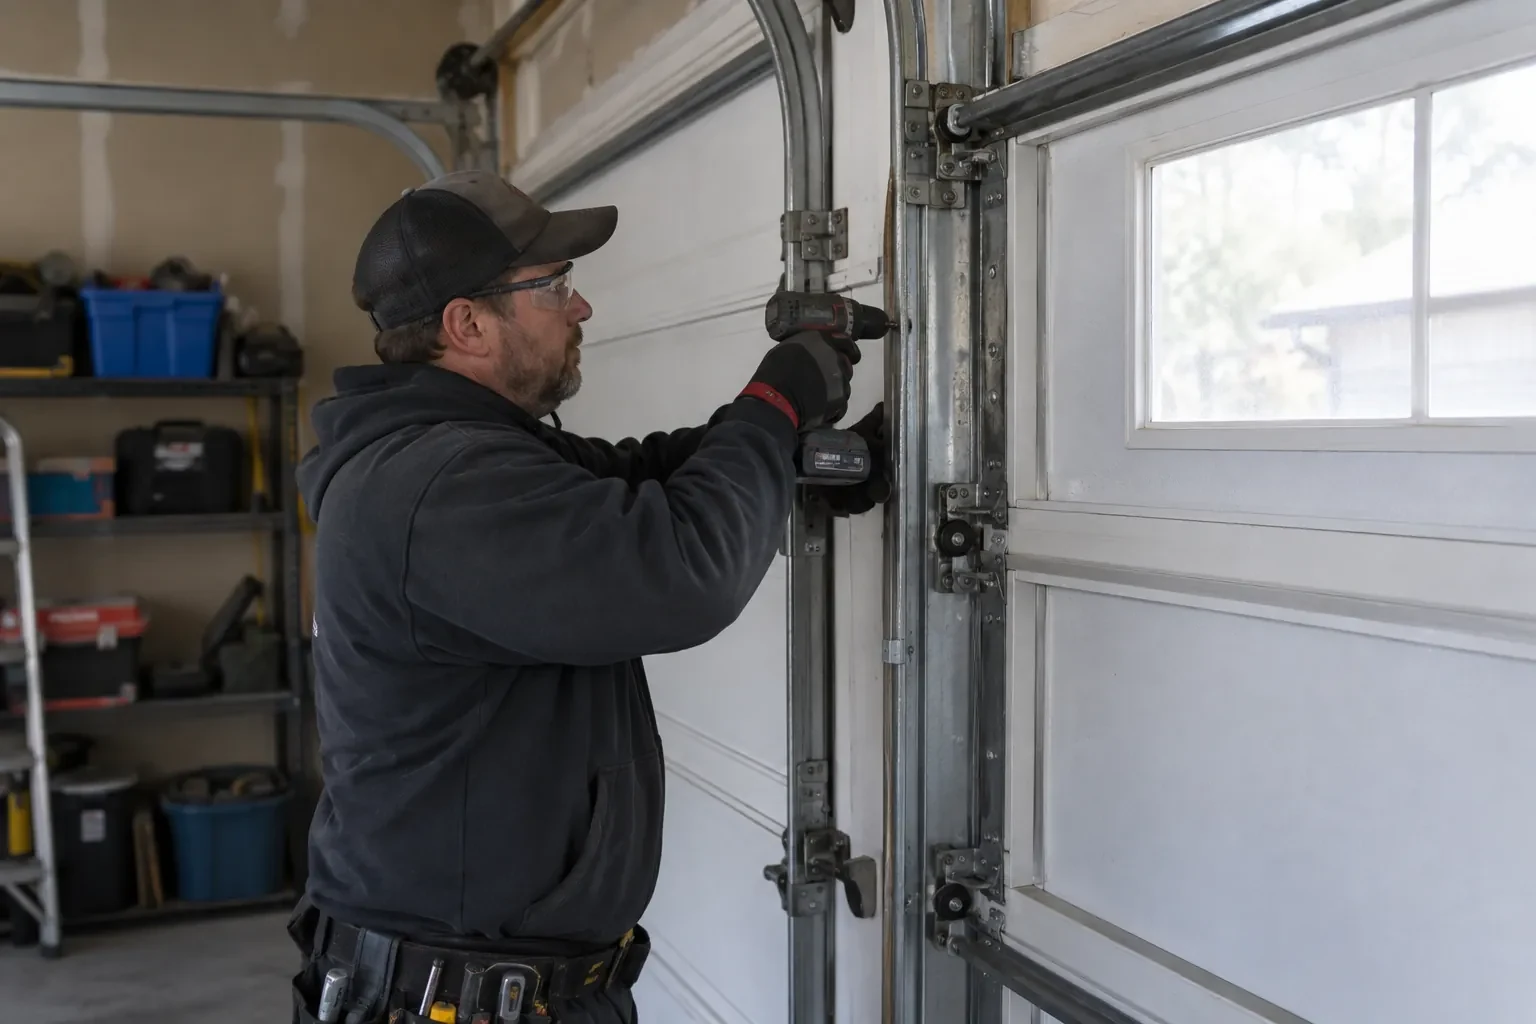
A flat steel panel takes the sensor in minutes. An insulated, raised-panel or windowed top section may need a bracket or a different spot, which adds a little time.
Built-in radio or retrofit hub
An opener whose wireless radio is already inside needs configuration and testing. An older opener needs a hub, a sensor, wiring or radio pairing and the same testing, which is a longer visit with hardware.
The opener's generation
Some openers accept a two-wire connection at the wall-control terminals; others use encrypted consoles and need radio pairing or a small adapter between hub and opener. The learn button and label decide which.
What to have ready
- Is there a spare socket in the ceiling receptacle the opener uses?
- Is the garage attached to the house or detached?
- Which email address should the account be created under?
Smart Garage Controller Setup: questions
QuestionsMy garage is detached. Will the signal reach?
Sometimes on its own, often with help. A driveway, two exterior walls and a metal-clad garage can knock a signal down to the point where the hub connects but drops offline regularly. The technician measures at the mounting spot and, where the reading is marginal, adds a small access point or extender positioned to bridge the gap, so the hub joins a strong signal from day one rather than a weak one you have to keep nursing.
Do you need my Wi-Fi password?
No. The technician will ask you to type it into the app yourself at the right moment and will look away while you do. The same goes for the account password and any verification code. The technician needs to see that the hub has joined and that commands work, not the credentials that made it happen. If you do not know your network password, find it before the visit; it is often printed on the router.
My opener already has a wireless symbol on it. Do I still need a hub?
Probably not. An opener with a built-in radio needs only to be put into pairing mode, joined to your network and registered to your account; it reports door position from its own travel sensing, so no separate sensor is required either. The visit becomes configuration and testing rather than installation. The technician also checks that the unit has not been left tied to a previous owner and that its firmware is current.
Related services
- Chain-Drive Opener RepairThe chain hangs in a loop under the rail and slaps against it on every cycle.
- Belt-Drive Opener RepairThe belt looks fine from a distance, but up close the rubber has cracked across the back in dozens of places and, in one spot, you can see the steel cords showing through.
- Garage Door Opener ReplacementYou swapped the old wooden door for a heavier insulated steel one, and the twenty-year-old opener that was kept has never settled.