Openers · Oakville
Photo-Eye Sensor Alignment or Replacement
The door will only go down while a finger stays on the wall button; let go and it stops or reverses.
In plain words
By the end of the visit you have a door that closes from every control and reverses the instant the beam is broken, a sensor pair mounted level at the right height with steady indicator lights, wiring that is secured and out of harm's way, and a written note of what was found and what was changed. The technician walks you through the two tests you can repeat monthly, points out which light is which, and leaves the opener's diagnostic chart where you can find it. It is a small job that puts a large piece of your door's protection back in service.
How the visit goesYou press the remote, the door drops a few centimetres, then climbs straight back to the top while the opener light blinks. Nothing is under the door. It has done this every evening this week.
Photo-Eye Sensor Alignment or Replacement
How the visit goes
Brackets and height on both sides
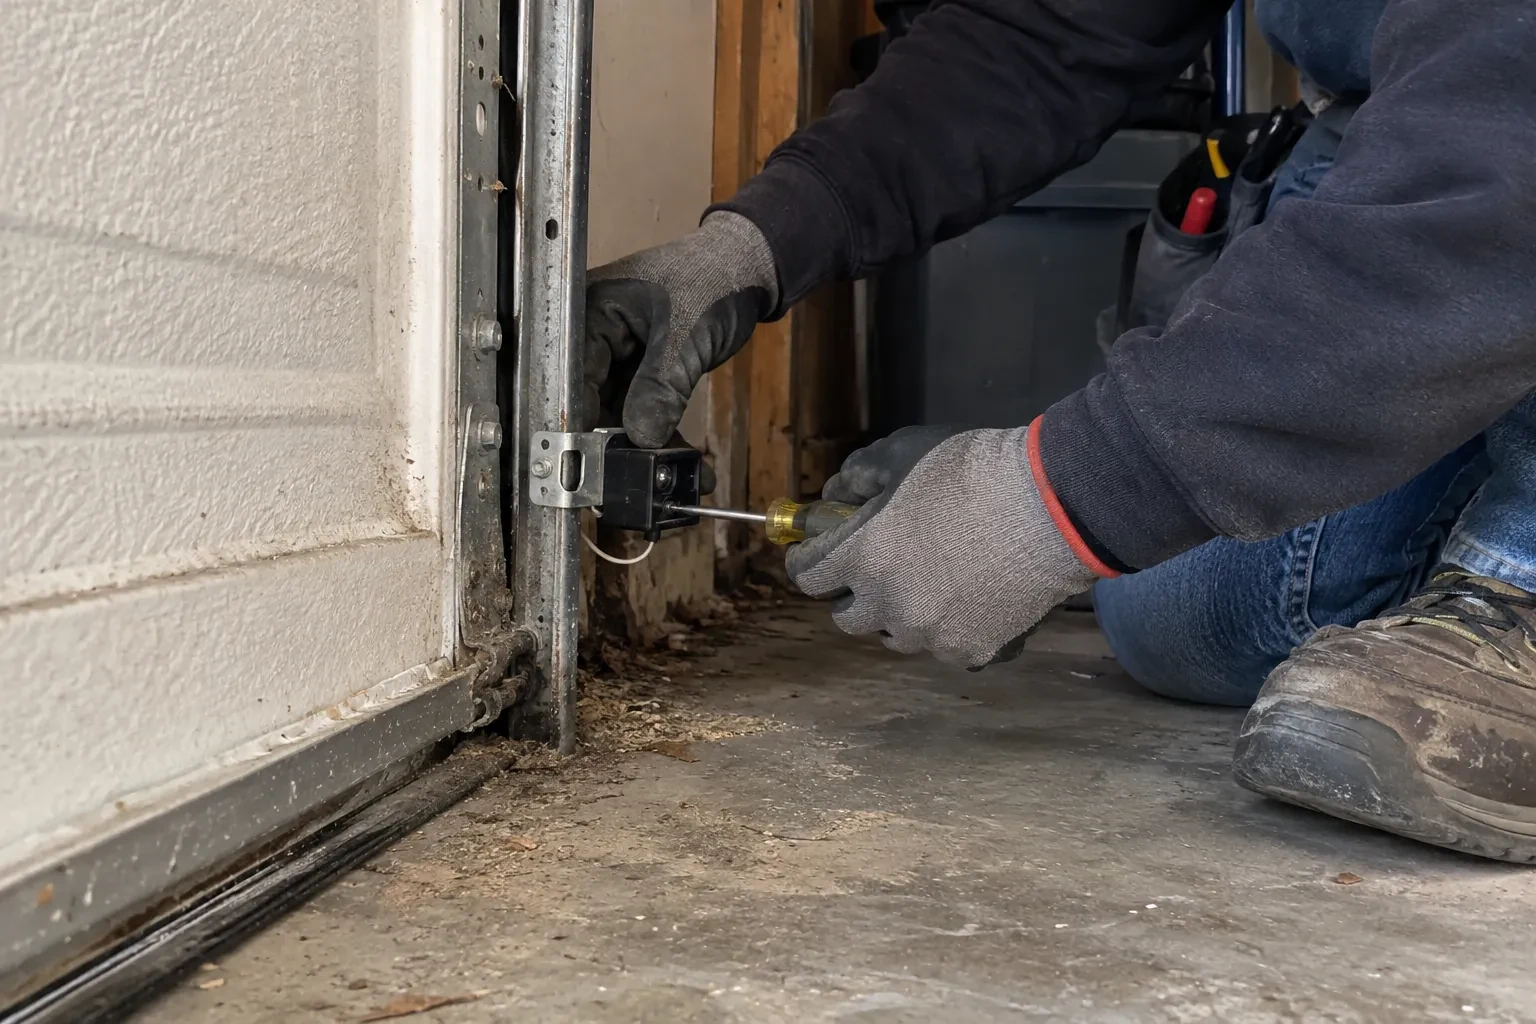
The two sensors have to sit at the same height, level, and facing each other squarely, no higher than about 15 cm (6 in) above the floor so the beam catches a small child or a pet. The technician measures both sides, because a bracket that has slipped a couple of centimetres down a track leg is enough to lose the beam. Each bracket is checked for bends from a bumper or a bin, for loose carriage bolts or wing nuts, and for rust where salt slush has sat against it for winters on end. A bracket screwed to a wall or the floor is checked for anchors that have worked loose.
Fitting a matched sensor pair
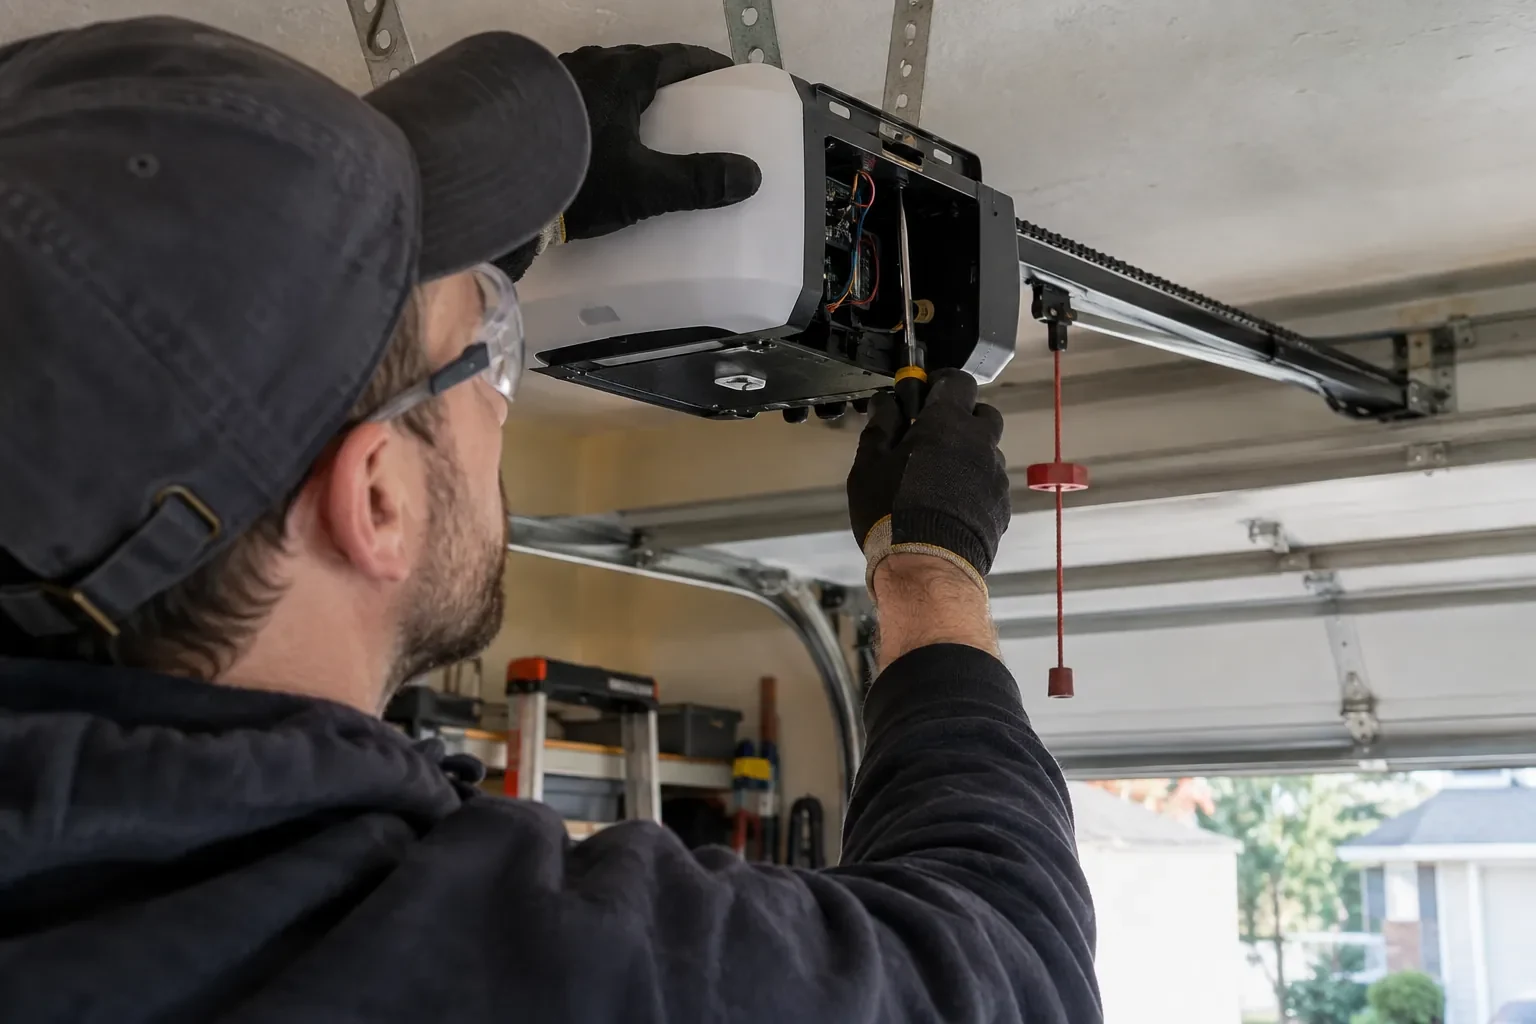
When a sensor has failed, the replacement is chosen for the opener rather than from a shelf of lookalikes. The technician confirms the make and generation from the head unit label, because sensors from one era are not always recognised by a board from another. The new sending and receiving sensors are mounted on the existing or new brackets at matched heights, wired with the connectors supplied, and brought up until both indicators glow steadily. Universal pairs exist for some operators and are used where they are documented to suit that model; where the opener is old enough that no compatible pair is made, the conversation moves to a modern operator.
A door that closes from the driveway again
The change you notice first is the ordinary one: you press the remote from the car, the door goes all the way down, and nobody has to stand in the garage holding a button. Behind that is a beam that is once more crossing the doorway at the right height, a pair of sensors that agree with each other, and an opener that is no longer flashing a warning every time you ask it to close. The door still stops and returns to open whenever the beam is broken, which is exactly what it should do, and now it does that only when something is genuinely in the way.
Photo-Eye Sensor Alignment or Replacement
In the van
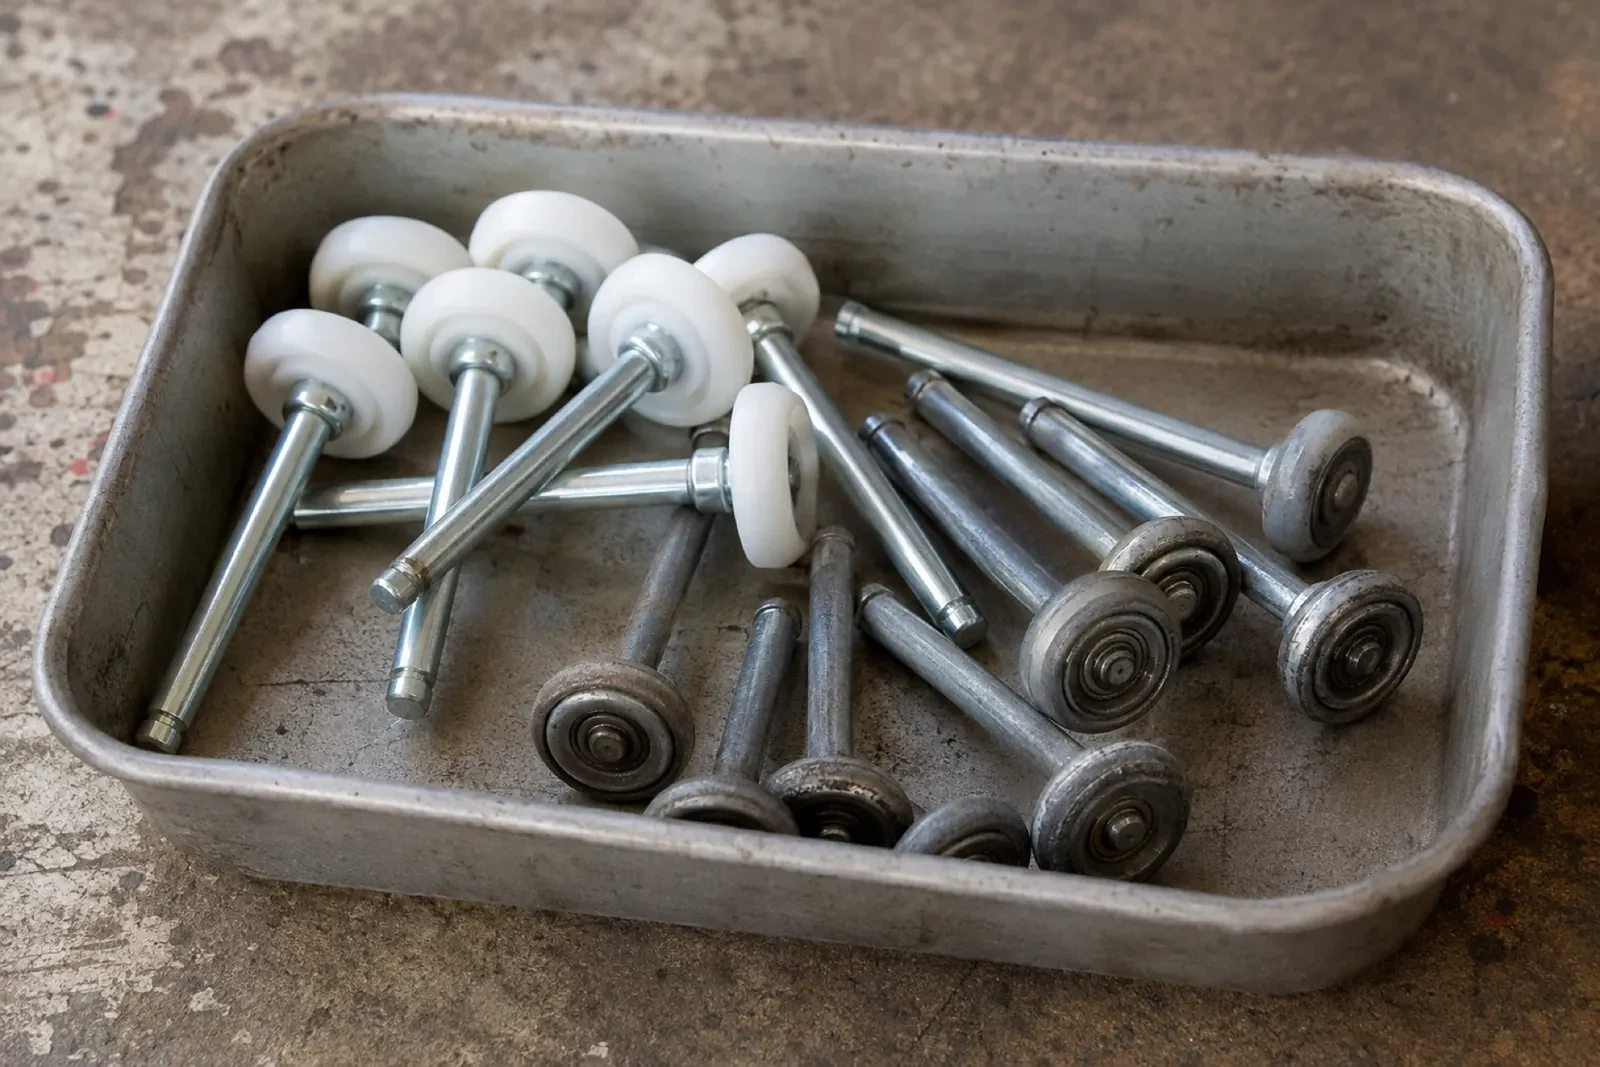
Wing nuts and carriage bolts
Concrete anchors
Insulated wire staples
2x4 test block
Protective wire channel
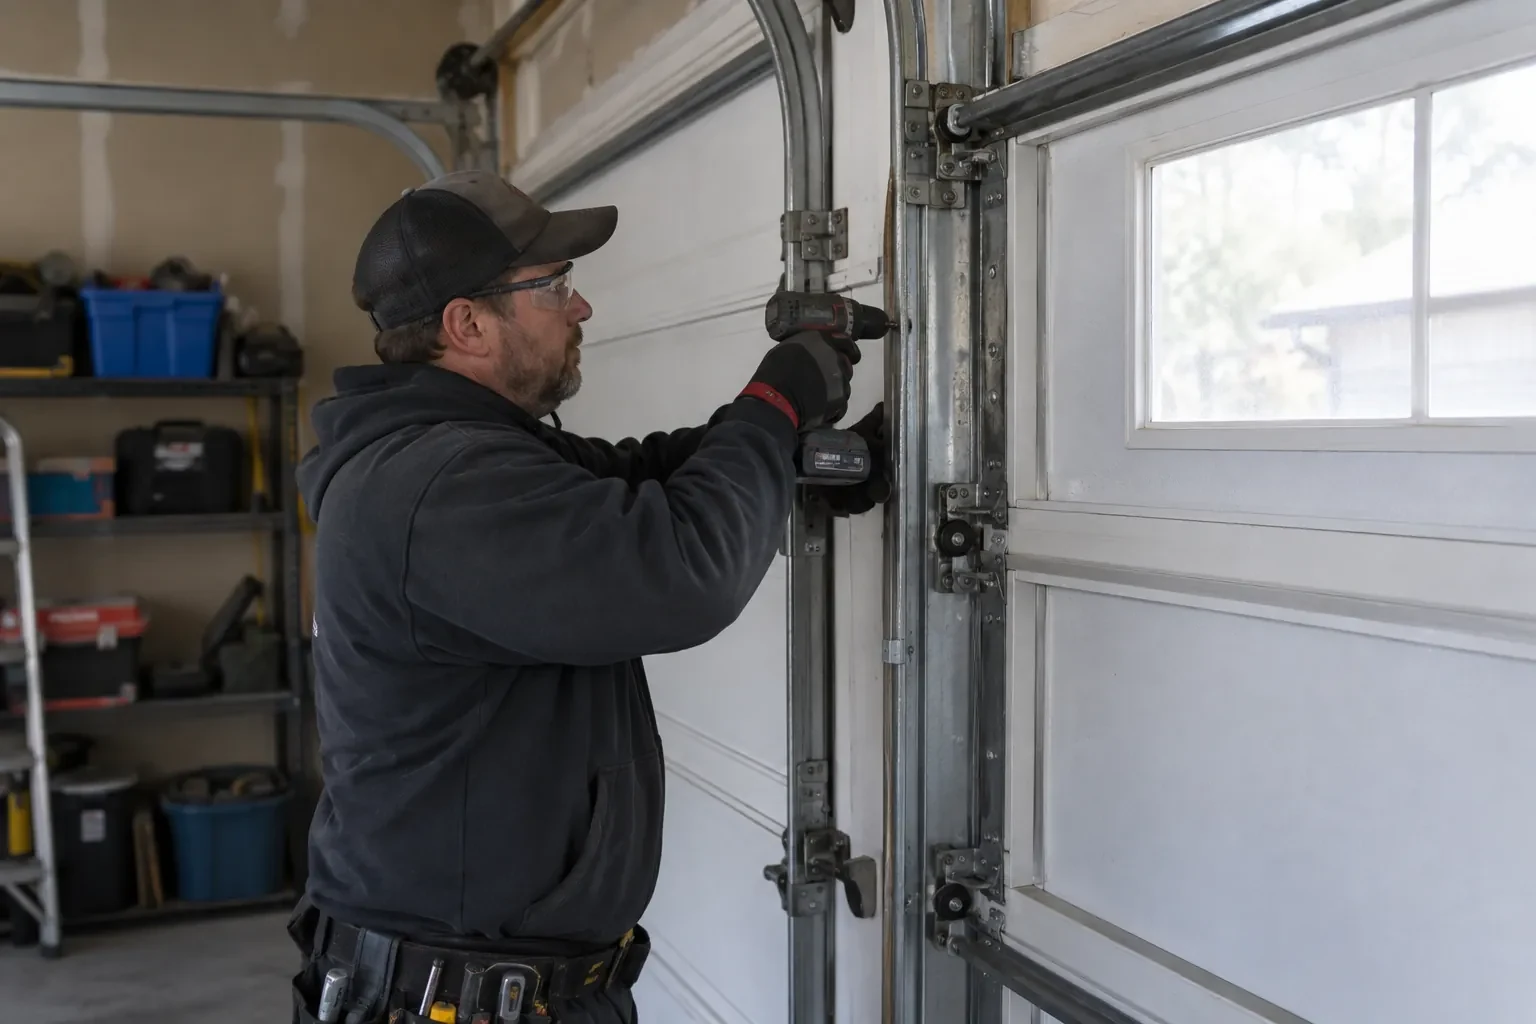
Photo-Eye Sensor Alignment or Replacement
What affects the quote
Bracket condition
A bracket that can be straightened costs little time. One that is cracked, rusted through or missing is replaced, and a change from track clips to wall or floor brackets adds anchors and mounting work.
Undoing an earlier shortcut
Sensors taped together beside the motor, mismatched pairs from different generations or a bypassed circuit are put right first, which means new wire down each side and fresh brackets at the doorway.
Number of doors
Each opener has its own sensor pair and wire run, so a double garage with two doors is two sets of checks, two possible pairs and two rounds of testing, quoted per door.
What to have ready
- Does the opener light flash when you press close, and how many times?
- When did it begin, and what was different that week: a bump, new shelving, a storm, a frost?
- Are there sensors at the floor on both sides, or are they missing or mounted up beside the motor?
Photo-Eye Sensor Alignment or Replacement: questions
QuestionsDo sensors wear out with age?
They do, slowly. The infrared emitter and the receiver dim over many years, lenses craze or cloud from sun and salt, housings crack, and water finds its way in at floor level. A pair that needs re-aligning more and more often, or whose light drifts between steady and flickering with nothing touched, is usually ageing. Because pairs are matched to the opener, an older opener is worth identifying early so the right replacement is on hand.
Can cold weather affect the sensors?
It can, in a few ways. Frost or condensation on a lens in an unheated garage dims the beam until it clears. The low winter sun reaches further across the floor and into a receiving eye. Old wire insulation cracks in the cold and shorts. Salt slush builds against brackets and corrodes them and the terminals over the years. Each of those has a straightforward remedy: cleaning, a shade or side swap, a fresh wire run, or brackets set above the slush line.
Could the wiring be the problem rather than the sensors?
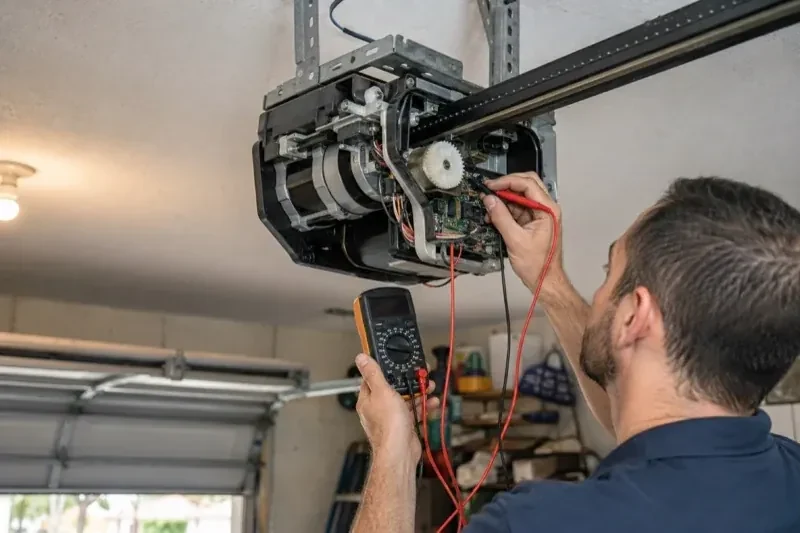
Frequently. The sensors are fed by a thin two-conductor wire from the head unit that crosses the ceiling and drops down both sides of the door, and it is pierced by staples, cut by shelving screws, chewed by mice or pulled from its terminals more often than a sensor fails. Both sensor lights dark, or an opener code for an open or reversed circuit, points to the wire. The technician tests the run with a meter and repairs or replaces the damaged section.
Related services
- Chain-Drive Opener RepairThe chain hangs in a loop under the rail and slaps against it on every cycle.
- Belt-Drive Opener RepairThe belt looks fine from a distance, but up close the rubber has cracked across the back in dozens of places and, in one spot, you can see the steel cords showing through.
- Garage Door Opener ReplacementYou swapped the old wooden door for a heavier insulated steel one, and the twenty-year-old opener that was kept has never settled.