Openers · Oakville
Smart Garage Controller Setup
The house came with a controller already screwed to the garage ceiling and a sensor on the door, but the app insists the device belongs to another account.
In plain words
A smart controller is only as good as the wireless signal at the garage ceiling, often the farthest corner of the house from the router. The technician measures signal where the hub will sit, on the 2.4 GHz band most hubs use, before anything is mounted. A strong reading means a straightforward join to your network. A weak one, common in detached garages and behind insulated steel doors, is solved with a small access point or extender placed to bridge the gap, rather than an install that keeps dropping offline. Once connected, the hub takes its firmware update and holds its link through router restarts on its own.
How the visit goesOne remote lives in a car you sold last spring. The other needs three presses from the driveway and its battery cover is taped on. Your phone is already in your hand when you pull in, and it would make a better opener.
Smart Garage Controller Setup
How the visit goes

Whether the radio is already inside
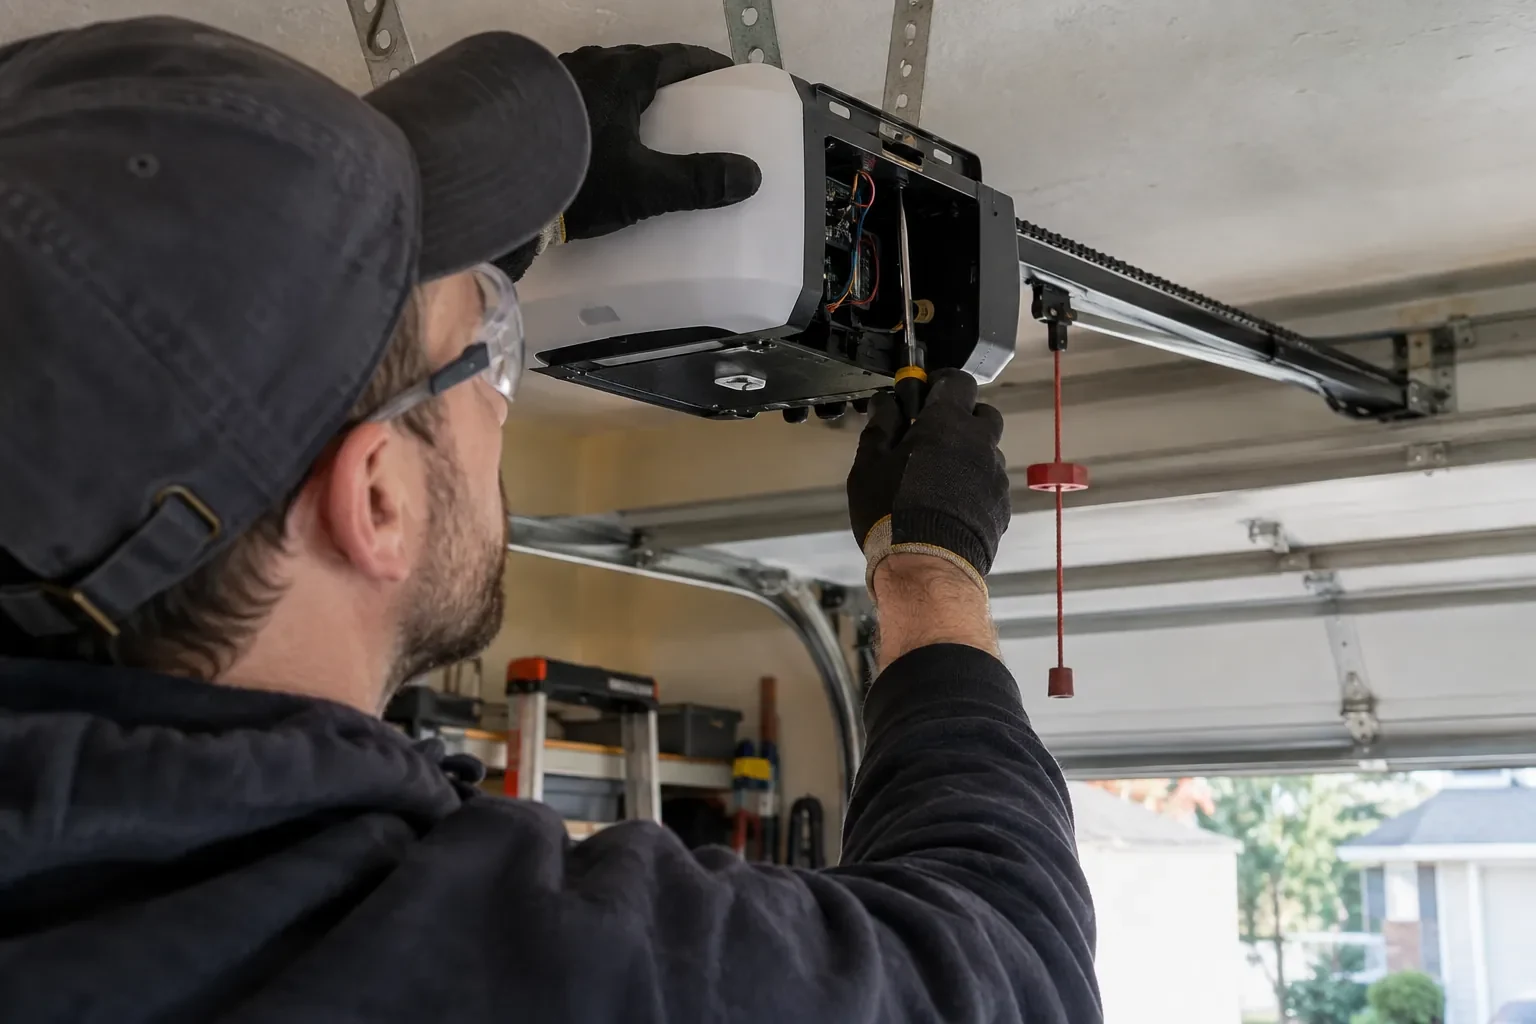
Many openers sold in the last several years already contain a wireless radio, and the check is simple: a network symbol printed on the head unit, a dedicated indicator light, or a mention of an app in the manual. When the radio is built in there is no hub to mount and no sensor to fit; the opener itself reports door position from its own travel sensing. The technician confirms the radio has not been paired to a previous owner's account, notes the serial number the app will ask for, and checks that the unit's firmware is a version the current app still supports. If so, the job becomes configuration rather than installation.
Pre-motion warning and the safety tests
Before handover the technician steps outside, out of sight of the door, and sends a close command from the app. The hub's beeper sounds and its light flashes for several seconds before the door moves, exactly as the operator standard requires for a command from someone who cannot see the doorway. Then the door is closed onto a length of 2x4 laid flat on the floor and must reverse on contact, and while closing again the photo-eye beam is broken and the door must stop and rise. Every existing control is tried too: wall console, each remote, the outside keypad. A door that passes all of this is ready to hand over.
Keeping the account yours
The controller is now a door key that lives in an account, so the account gets the same care as a key ring. Keep the password unique to this service and stored in a password manager, turn on two-step verification if the app offers it, and look at the user list every few months. When a cleaner finishes, a tenant moves out or a relationship changes, their access is removed in a few taps. If a phone is lost, signing out of all devices from the account settings closes that door too. None of this needs a technician; the visit ended with you shown exactly where each of these controls lives.
Smart Garage Controller Setup
In the van
Wi-Fi access point or extender
Replacement photo-eye pair
Door-position tilt sensor
Receptacle splitter with approval mark
Cable clips and insulated staples
Smart Garage Controller Setup
What affects the quote
Wiring route
Where the hub is wired to the wall-control terminals, the distance and route from hub to console, clipped clear of the chain and trolley, sets the time for that step.
Photo eyes needing attention first
Remote closing requires a working sensor pair. Realigning a bracket is small; replacing a failed pair and running new wire is a separate item the technician names before starting.
Taking over an existing device
Releasing a controller from a previous owner's account, resetting it and pairing it fresh takes time that a new device does not, and its sensor may need a battery or repositioning.
What to have ready
- What brand and model is your opener, and roughly how old is it?
- Is there a spare socket in the ceiling receptacle the opener uses?
- What colour is the learn button under the opener's light cover?
Smart Garage Controller Setup: questions
QuestionsMy garage is detached. Will the signal reach?
Sometimes on its own, often with help. A driveway, two exterior walls and a metal-clad garage can knock a signal down to the point where the hub connects but drops offline regularly. The technician measures at the mounting spot and, where the reading is marginal, adds a small access point or extender positioned to bridge the gap, so the hub joins a strong signal from day one rather than a weak one you have to keep nursing.
Do you need my Wi-Fi password?
No. The technician will ask you to type it into the app yourself at the right moment and will look away while you do. The same goes for the account password and any verification code. The technician needs to see that the hub has joined and that commands work, not the credentials that made it happen. If you do not know your network password, find it before the visit; it is often printed on the router.
My opener already has a wireless symbol on it. Do I still need a hub?
Probably not. An opener with a built-in radio needs only to be put into pairing mode, joined to your network and registered to your account; it reports door position from its own travel sensing, so no separate sensor is required either. The visit becomes configuration and testing rather than installation. The technician also checks that the unit has not been left tied to a previous owner and that its firmware is current.
Related services
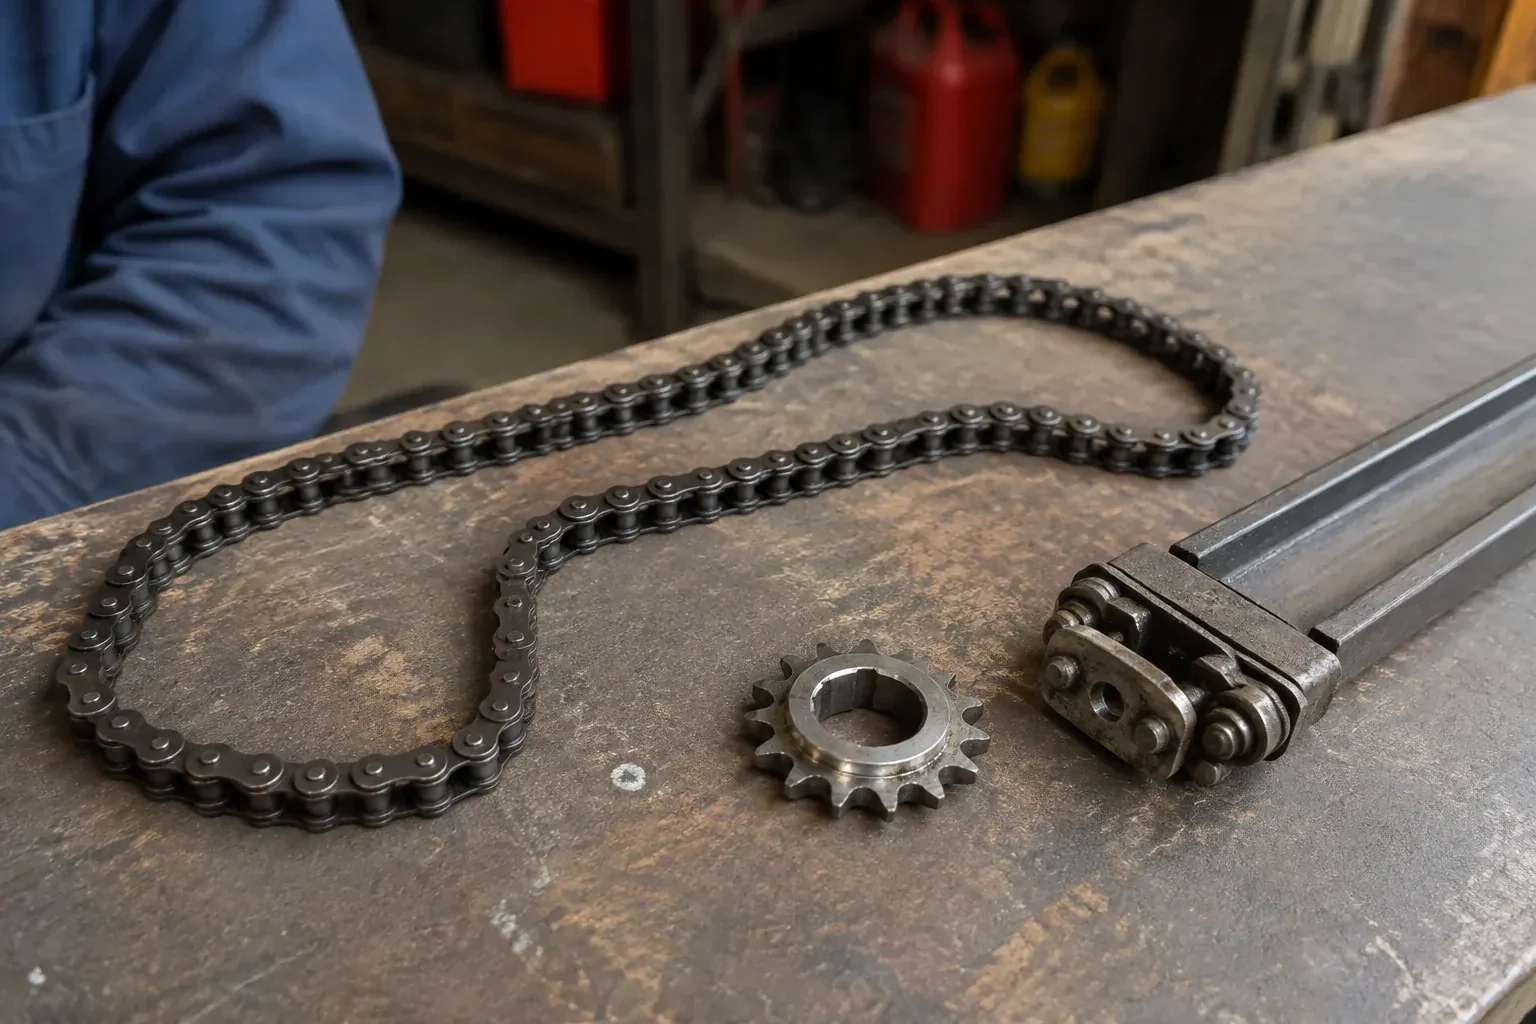
- Chain-Drive Opener RepairThe chain hangs in a loop under the rail and slaps against it on every cycle.
- Belt-Drive Opener RepairThe belt looks fine from a distance, but up close the rubber has cracked across the back in dozens of places and, in one spot, you can see the steel cords showing through.
- Garage Door Opener ReplacementYou swapped the old wooden door for a heavier insulated steel one, and the twenty-year-old opener that was kept has never settled.